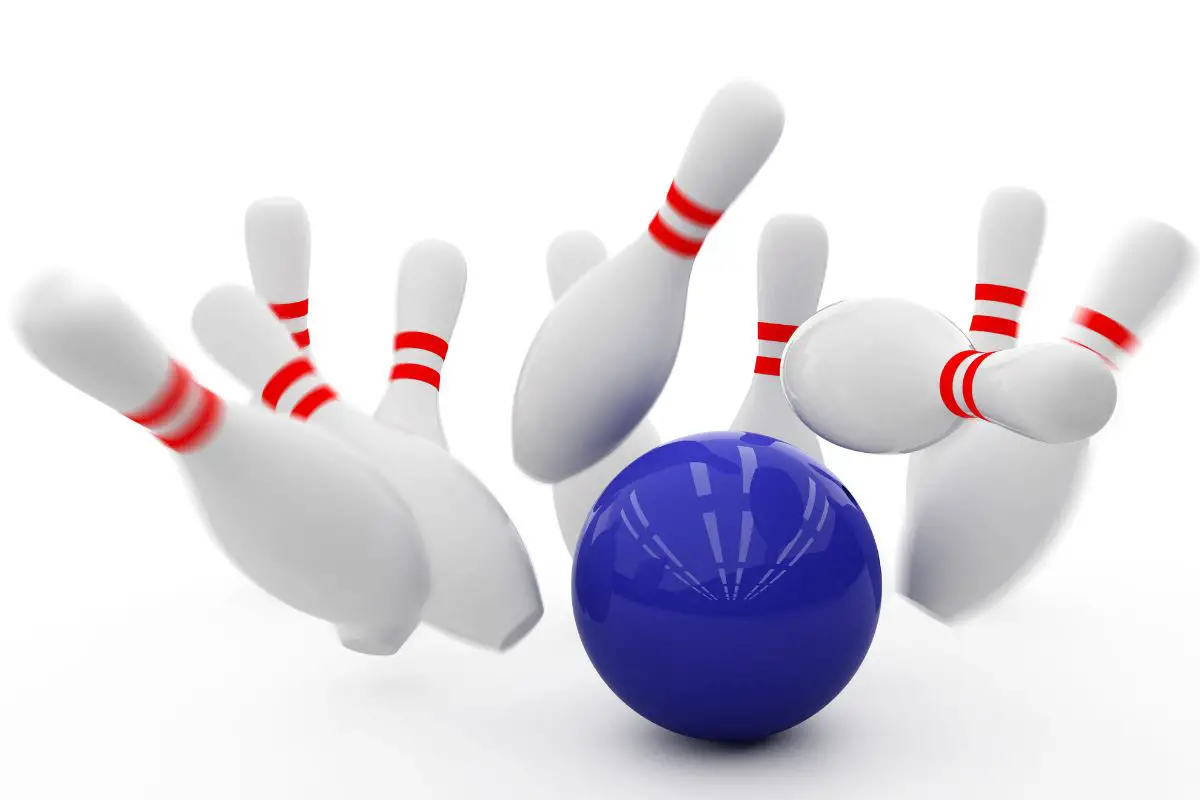
The simple goal of bowling is to knock down as many pins as possible. The more you knock down, the more points you get.
Have you ever wondered about the setup of the bowling pins themselves? Or are you learning to set them up yourself?
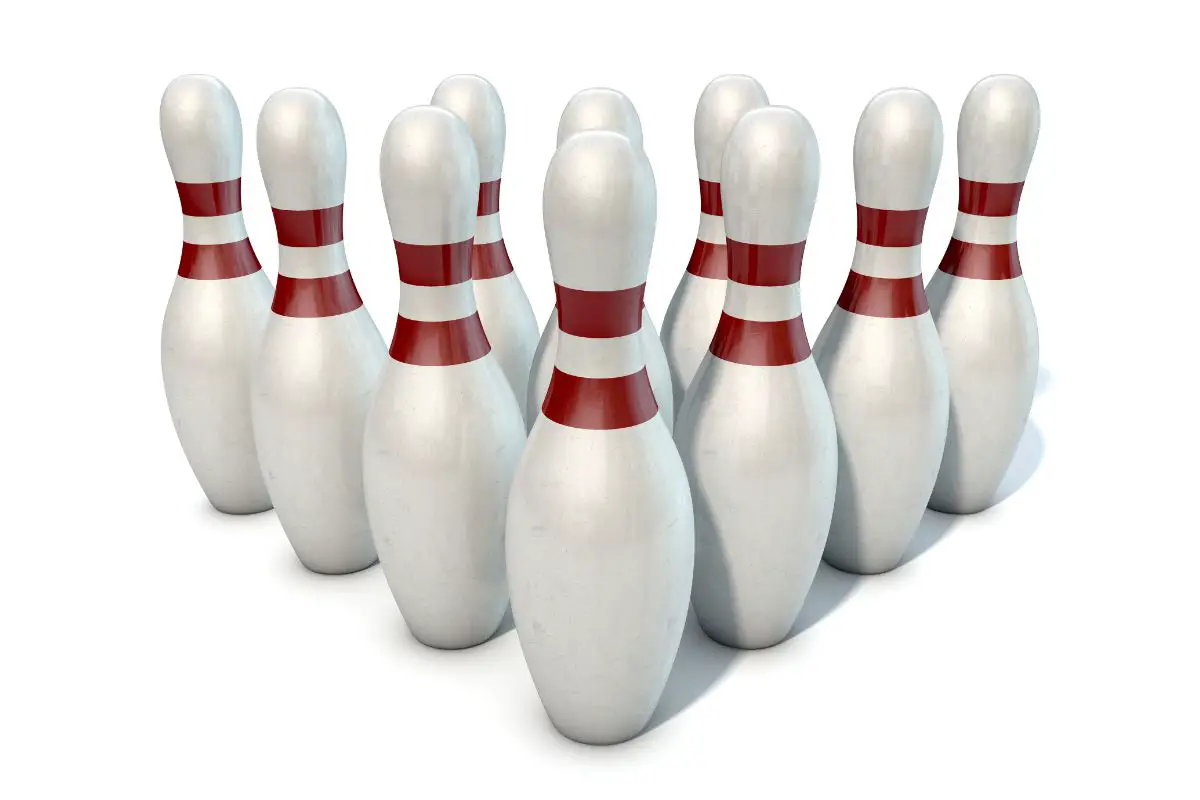
Either way, there is a correct way to do it. I’m sure you can easily visualize a bowling alley, the lanes, and the pins all set up nicely, but rarely do you see a close-up or birdseye view of this.
Although there are various bowling pin setups, we will discuss the most common one.
Here, we shall explain the arrangement, setup, and numbering of the pins in a standard ten-pin bowling formation to help you better understand the game.
What Is A Bowling Pin Made From?
Firstly, let’s talk about the pins before learning how to set them up. Typically, bowling pins are made of maple wood with stocks or rocks glued to the bottom to balance it.
The outer coating is usually a plastic material, which is cheap and durable. Pins are then painted and covered in a glossy finish that we see when sitting on the deck.
Sometimes, bowling pins can be made from synthetic materials instead of wood; however, these are not allowed in traditional ten-pin bowling games and alleys.
How Big Is A Bowling Pin?
You may not have seen a bowling pin up close unless you’ve worked at a bowling alley or are a real enthusiast because, let’s face it, the aim of the game is to knock them down away from you.
So, how big is a bowling pin?
A bowling pin is 16 inches tall and 4.7 inches wide. It can weigh between 3 pounds 6 ounces and 3 pounds 10 ounces.
Generally, the weight of a single pin shouldn’t be more than 4 pounds if they are made of standard wood and plastic. A synthetic pin, on the other hand, should weigh about 2 ounces.
Bowling Pin Setup

You’ve probably seen the bowling pins at the end of an alley in a neat little formation, but what does this consist of?
In a typical game, the bowling pins are laid out in the shape of an equilateral triangle. This means that all lengths of the ‘triangle’ are the same.
The first pin is called the headpin. The rest of the pins are laid out behind the headpin in the triangle setup. In total, there are ten bowling pins.
Pin Arrangement
Let’s look at this triangular formation in a bit more detail. The formation is made of four rows of pins. The first pin, or headpin, is closest to you when standing on the foul line and the tip of the triangle.
The second row consists of pins two and three, and the third row contains four, five, and six. Lastly, the fourth and final row is made up of pins seven through ten.
The area at the end of the lane where the pins are set up in this formation is called the ‘bowling pin deck.’ Once they are all in place, we refer to the pins on the deck as a ‘rack.’
You may not have noticed, as you would be quite far away from the pins themselves, but there are round spots on the deck that match the base of each pin; these are called pin spots.
Pin Numbering
Numbering is vital in bowling as it can help you identify each pin. This is useful when working out how many pins you have left after your first bowl and how to determine ‘splits,’ e.g., the 7-10 split when scoring.
The locations of the pins on the bowling pin deck are always assigned a number. As mentioned, the first pin, or headpin, is always known as Number 1. Following this, the pins are numbered consecutively from Number 2 to Number 10.
It’s worth remembering that the numbers are based just on the location of the pin and not the value in regard to your score.
Pin Spacing
Although we are lucky enough for machines to set up our pins on the deck for us these days, past players would have to do the work themselves.
Don’t worry; I’m not suggesting you run out onto the lane with a ruler. However, knowing how to space out your pins can be a helpful skill, as we all know no matter how much technology has advanced, it can still malfunction sometimes.
Looking closely at the equilateral triangle formation, it’s clear that the space between the pins must be precise. As a general rule, the distance between pins that are adjacent to each other must be 12 inches.
When setting up the rack, the headpin and pins Number 2 and Number 3 are all in a triangular formation, 12 inches apart from one another.
An additional rule to follow is that the space between pins directly behind one another is 20.75 inches.
For example, pin 8 must be 20.75 inches behind pin 2. The same goes for pin numbers 5 and 1 and 9 and 3.
When setting up the pins on the deck, the distance from the back row to the back of the lane should be 3 inches.
Each side of the pin rack should measure 36 inches long to form the perfect equilateral triangle. The distance from the headpin to the back row of the deck is 40.25 inches.
Key Points To Remember
There are several factors to remember when setting up a standard 10-pin bowling game.
The pin deck should be set up with four rows of pins in an equilateral triangle, starting with the headpin at the point of formation.
Following this, 2, 3, and 4 pins should be placed in the remaining rows, 12 inches apart from the next adjacent pin. Pins directly behind one another, e.g., 2 and 8, should have a distance of 20.75 inches between them.
Each side of the triangle should measure 36 inches to create the correct triangular formation.
We hope this article has given you a clearer understanding of setting up your 10-pin bowling game, even if we have machines to do it for us now.
Happy bowling!
- A Comprehensive Guide to the Top Bowling Movies of All Time - December 23, 2023
- Bowling Shoes Selection Guide: How to Choose the Right Fit - September 27, 2023
- Bowling Ball Buying Guide: How to Choose the Right Ball for You - September 23, 2023

