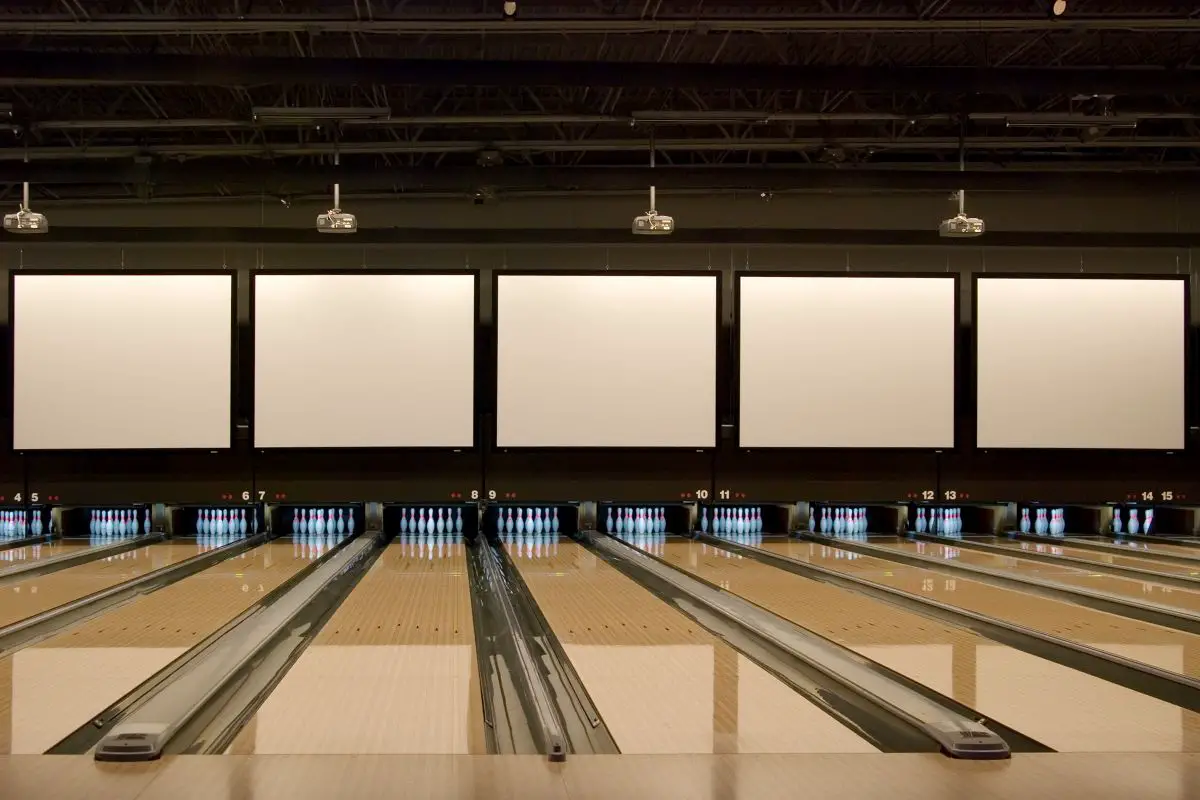
A bowling lane is a flat surface that is painted white and divided into numbered sections called pins. Pins are placed at various distances from each other along the length of the lane.
Each pin represents a ball that is thrown down the lane toward the gutter at the far end. When the ball strikes a pin, it knocks the pin down and causes a score.
If the bowler knocks all ten pins down, he or she scores 10 points. A perfect game is when a bowler rolls a strike every time he or she throws a ball.
For some bowling enthusiasts, bowling is more than just a game. Bowling is a hobby that they enjoy every single time they go out to the bowling alley.
These bowlers don’t want to limit themselves to the local bowling alley either; they also install their very own homemade bowling lane at home and make their own bowling alleys there.
If you are one among them, then you might be wondering, How can I build a bowling alley in my house and where do I start? Let’s see.
Dimensions
Before you begin your journey into designing a bowling alley, you must understand the dimensions of a bowling alley. Typically, A bowling alley measures out to be 60 feet long and 42 inches wide.
The first three feet before the foul line includes two rows of approach dots. After that, you have a distance from the foul line to the pins of 12 feet. In the game, you cannot go past the foul line.
If you did, then your ball would not count. After the ball hits the foul line, there is a distance of 12 feet away from the aiming arrows. These aiming arrows are meant to help guide your throw and knock all of the pins down.
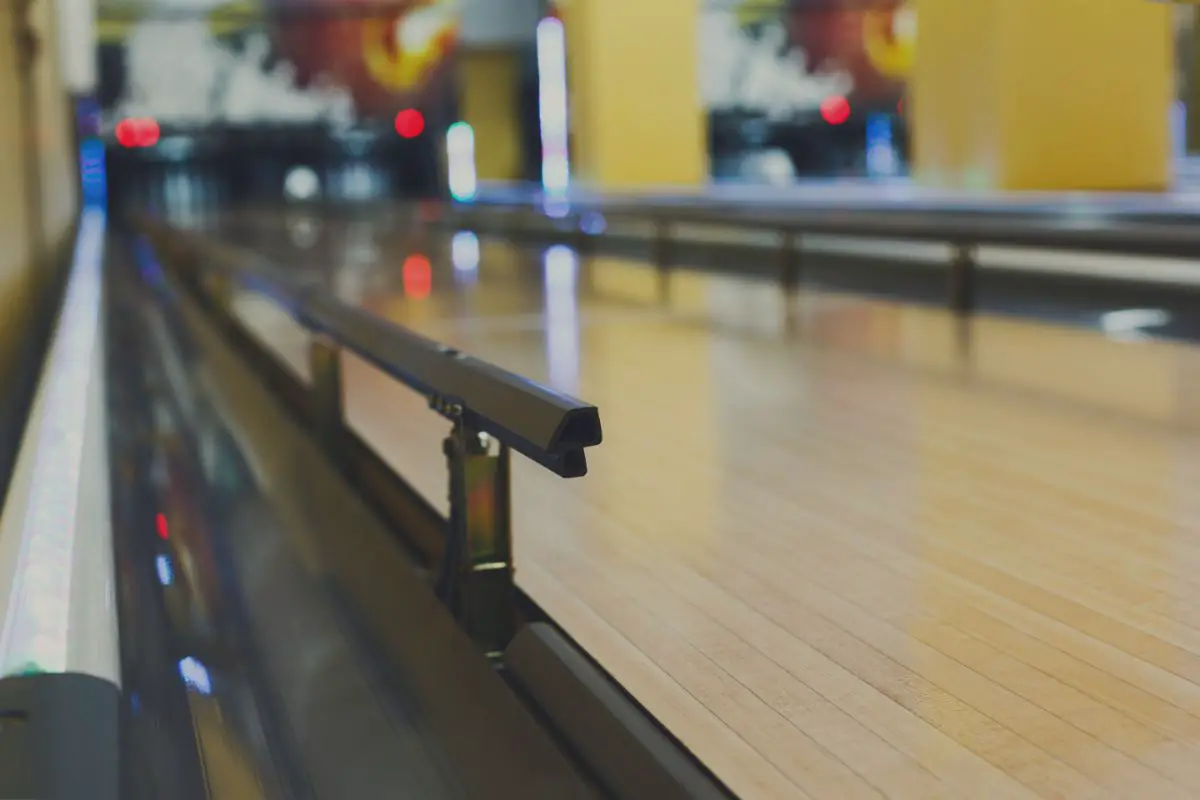
The end of the lane is at the tip base of the number 1 bowling ball. This is where the lane ends, and on each side of the lane is the gutter. This is the complete structure of a bowling lane and it needs to be understood before thinking about buying or installing one.
Is It possible?
If you really want to make a bowling alley in your house you can, but it certainly isn’t an easy project.
Making a regulation-sized bowling alley in your own home is not going to happen unless you are willing to spend a lot of money and put in a great deal of effort, however, they are a fun option for homeowners looking to add a bit of entertainment to their homes.
They are often built by professional builders, but can also be DIY projects. A typical project takes about two weeks to complete. All materials are available at local hardware stores, and the cost depends on the size of the project.
Most lanes can be purchased pre-installed in a box, ready to assemble, a good option if you are overwhelmed by the prospect of building the whole thing. Some models require assembly in place. Once completed, the installation will last for years.
There are many benefits of adding a bowling alley to your home. You could enjoy time spent together with friends and family and entertain guests. Furthermore, having a bowling alley adds value to your home and provides an impressive addition to show off to your guests.
Tools/Materials
If you decide to take the plunge and install the alley yourself then the project will require you to buy a fair few different items. These items include:
Router
Oscilloscope
Multimeter
Soldering iron
Drill
Screwdriver
Knife
Pair of pliers
You may also need a few other items depending on what you plan on doing. It’s recommended to use a router because it is the most versatile tool as you can use it to cut wood, metal, plastic, and even glass.
It’s also super easy to use. All you have to do is plug it into a wall outlet and press a button then you just turn it on and start cutting.
You will first need to measure the area to ensure that there is sufficient room for installing a mini/full bowling alley. You will also need to purchase or obtain the following items:
Plywood, around eight sheets.
Full-length 2×4 boards: around fourteen pieces.
LED lights.
Primers.
Paint.
Laminate Flooring: if you choose to install laminate flooring.
However, if you want an actual bowling alley, including all the equipment, then you might need to spend around $100,000. The price varies depending on your needs and preferences.
For example, if you want a fully automated bowling alley and are considering hiring out as a business you‘ll need to pay more because you’ll also need to buy the bowling balls, shoes, and other accessories.
In fact, if you are willing to invest enough time and effort, you will be able to create something that is really unique and offers an entirely new product category if your intention is to run it as a business.
As with everything, If you are determined to succeed, then you will need to put in the extra effort to achieve your goals.
Area requirements
When considering the area, you will need anywhere from 100-120 feet of space just for the lanes. This includes everything from the approach to the back of the lanes.
The total length requirement is going to be somewhere around 86-100 feet. You will also need a service machine room, which will require another 10-15 feet. This means that you will need a minimum of 116-130 feet of space for your bowling alley.
It’s possible to adjust these measurements and get one that’s small enough to fit your needs while still providing all the necessary equipment to play like a pro. If you’re not looking for a full-fledged arcade experience, then you might consider going for a 50-foot bowling alley instead.
Construction
If you choose a mini bowling alley these can be built with relative ease. Most of the parts are relatively easy to source and purchase online.
While assembling your own mini bowling alley might seem daunting at first, it doesn’t need to be. There are many companies that specialize in putting together mini bowling alleys for homeowners.
Some even offer installation services. You can save money by buying pre-assembled mini-bowling alleys, but if you have the time and patience, assembling your own mini-bowling alleys will give you a lot more freedom and flexibility.
The pit (or foundation) is the first step toward creating a full-fledged bowling center. It contains all of the elements necessary for a successful operation including the ball return mechanism, ball lift device, and ball storage rack.
Once the woodworking phase is complete, the ball racks can be added and the lane construction begins.
The final step is to install the automated scoring computer and other visual displays. Finally, the approach and lanes can be constructed and the installation of the lanes themselves is complete.
Customization is at an all-time high with many different options available. There are also plenty of ways to integrate the facility with additional technology such as cameras, speakers, and touchscreens. Let’s look at the steps in a bit more detail.
Step By Step Guide
If you decide to proceed with building a bowling alley with your own fair hands and establish the area you need you are ready to start here are the steps to follow:
Step 1
Firstly, you’ll need to get ready to make some cuts. You’ll need to wear safety equipment when doing so. Eye protection, ear protection, gloves, and a respirator are all safety requirements, and should ensure these are in place before you commence building.
Make sure you have your tape measure and ruler to hand as these tools will help you determine exactly what size wood pieces you’ll need. Once you have them, you’ll then need to slice up your various pieces of lumber into the right sizes. Keep your pieces organized while doing so.
Step 2
You will need to cut out the lanes using a jigsaw. You might also want to get an extra pair of hands to help you. When cutting out the lanes, make sure that your saw blade is sharp and clean. If any dust gets caught under the blade, it could slow you down as you need clean cuts.
You should make sure that you are using a straight edge when measuring the width of the lane. Also, if you are making your own lane, make sure that you are using the correct type of wood.
Some woods are harder than others and may require a different kind of blade. If you are using wood, you should first stain the wood to give it an attractive finish.
You can then apply a clear coat to protect the wood. If you are using a synthetic material, you will need to attach it to the wall before applying any finishing products.
Step 3
You will need to assemble your pin housing first. You will need to cut out two pieces of wood for each lane and gutter. These pieces should be made to fit together like a puzzle.
Once you have all of the pieces, you will then need to add a piece of padding to the inside of the housing. This will help to deaden any sounds that may occur when the pins are hitting against the housing.
After this step, you will need to attach the pins to the bottom of the housing. Lastly, you will need to cover the top of the housing with a piece of carpet or fabric. This will help to prevent dirt from getting into the housing and causing issues down the road.
Step 4
Step 4 involves coating and waxing the lanes. Lane coatings come in a range of different types. Some of them are designed to provide a smooth surface while others are meant to create a more durable surface.
For example, there are those that will allow moisture to escape from the lane and keep the ball in place. Others are designed to prevent water from getting under the ball and causing damage.
There are also those that add grip to the lane. Be sure to do your research and choose the coating for your needs.
Tips
As you might expect, there are some risks associated with building a bowling alley. Most importantly, as we’ve covered, you should measure accurately first.
You will need to determine whether your allocated room such as a basement has enough room for an actual bowling alley. If not, you will need to either cut away parts of your walls or reduce the size of your alley.
You also need to consider the size of your gutter system and housing for your bowling equipment.
Lastly, you must ensure that all of your plumbing meets ADA standards. If you want the full bowling game experience, then you will need a real bowling ball and pins. These items can get really heavy and bulky and heavy and therefore can be quite difficult to store.
In summary
Building a bowling alley in your home sure is a challenging project, but with good planning and a positive attitude, you could be bowling until your heart’s consent in less than a month. Enjoy!
Hi, I’m Drew Kaufner and I have been a fan of bowling ever since I could walk. I have been competing for just shy of 20 years, and I have picked up an incredible amount of knowledge along the way.
I wanted to create my website to inspire others to pick up their bowling balls and get to their local lanes. There’s nothing quite like enjoying a friendly game of bowling with your friends and family, so what are you waiting for?